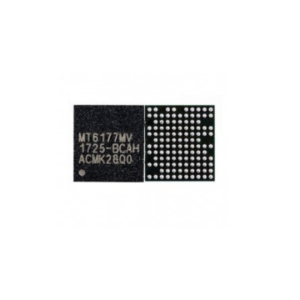
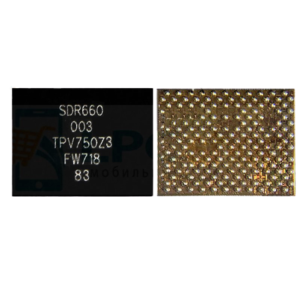
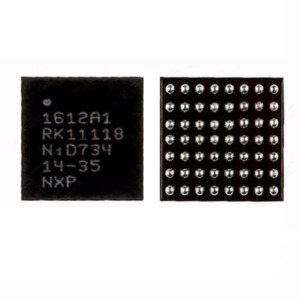
ET9540L ORIGINAL IC
Introduction
The ET9540L Original IC is a crucial component in electronic devices, responsible for ensuring proper functionality. If you are facing issues with this IC, it may be necessary to fix or replace it. In this guide, we will provide step-by-step instructions on how to fix the ET9540L Original IC.
Step 1: Identify the Problem
Before attempting any repairs, it is essential to diagnose the issue accurately. Look for any visible signs of damage, such as burnt or corroded connections. Additionally, use a multimeter to test the IC for any faults or irregularities.
Step 2: Gather the Necessary Tools
To fix the ET9540L Original IC, you will need a few tools, including a soldering iron, desoldering pump or wick, solder wire, and a replacement IC. Ensure that you have all the required tools before proceeding with the repair.
Step 3: Remove the Faulty IC
Carefully desolder the faulty ET9540L Original IC from the circuit board using a soldering iron and desoldering pump or wick. Be cautious not to damage any surrounding components during this process.
Step 4: Install the Replacement IC
Once the faulty IC is removed, clean any excess solder from the circuit board using desoldering wick or a desoldering pump. Then, solder the replacement ET9540L Original IC in its place, ensuring proper alignment and connection.
Step 5: Test the Repaired IC
After installing the replacement IC, power on the device and test its functionality. Verify that the repaired IC is working correctly and that the initial issue has been resolved.
Conclusion
By following these steps, you can successfully fix the ET9540L Original IC in your electronic device. However, if you are not confident in your repair skills, it is recommended to seek professional assistance to avoid further damage.

ET9540L ORIGINAL IC
NOTE : GSMSMARTPRICE is gathering the best information from various websites live prices may defer from the listed price


Reviews
There are no reviews yet.