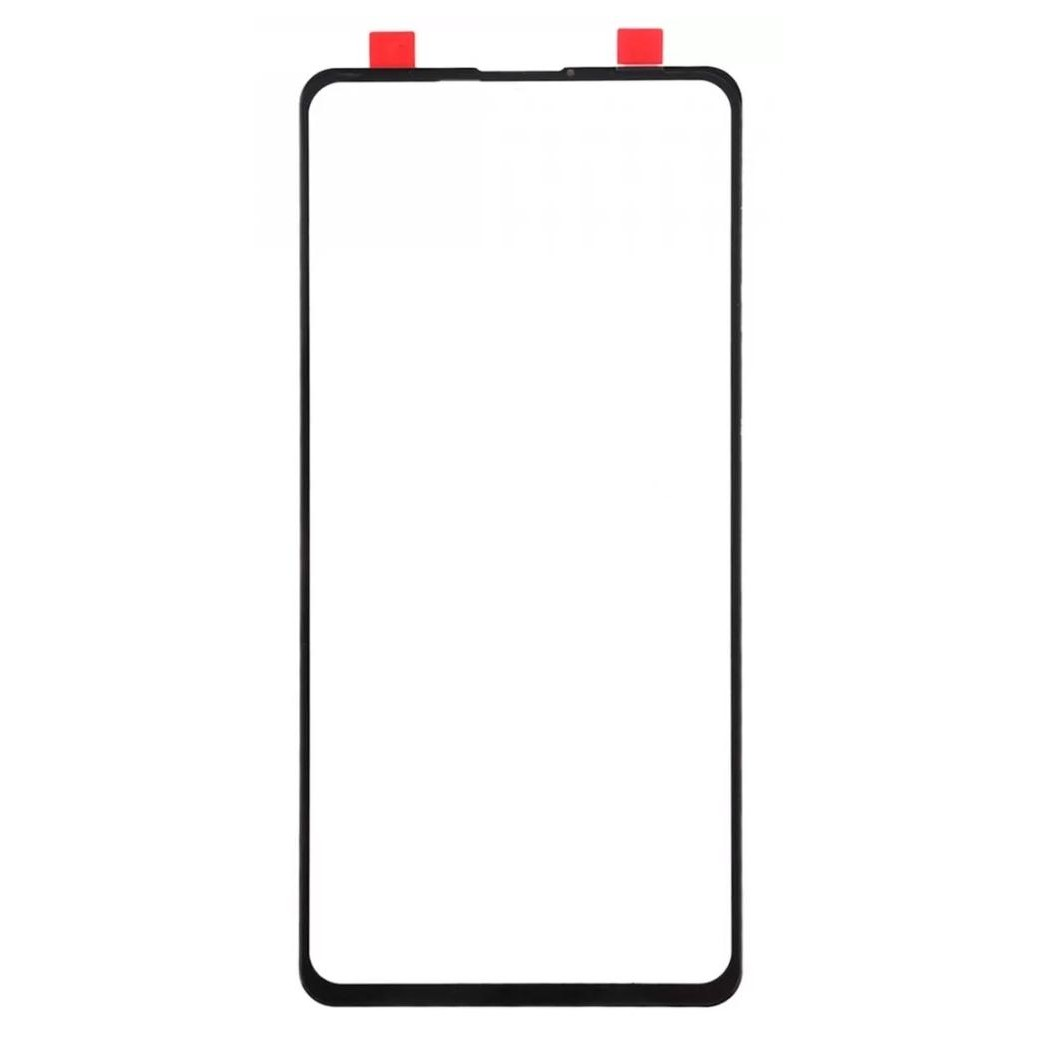
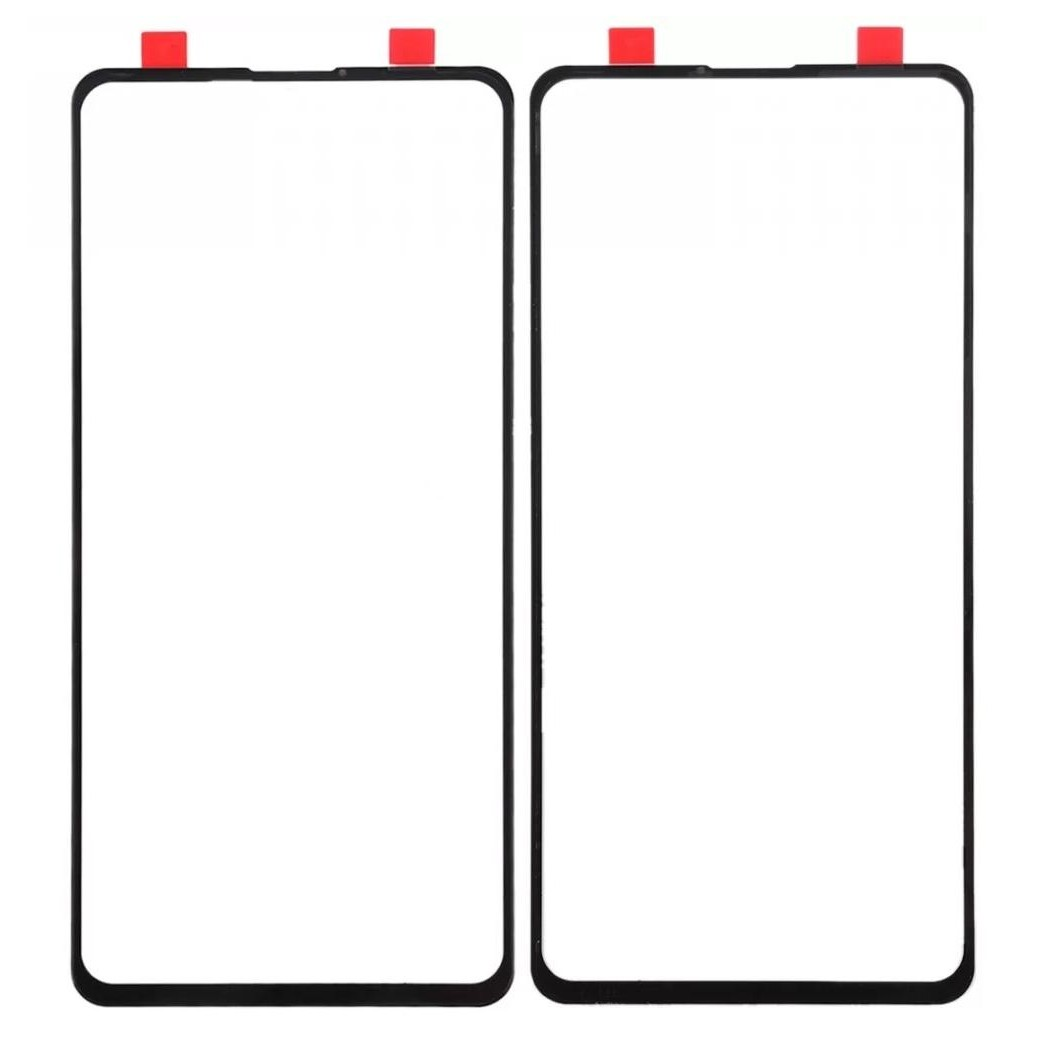
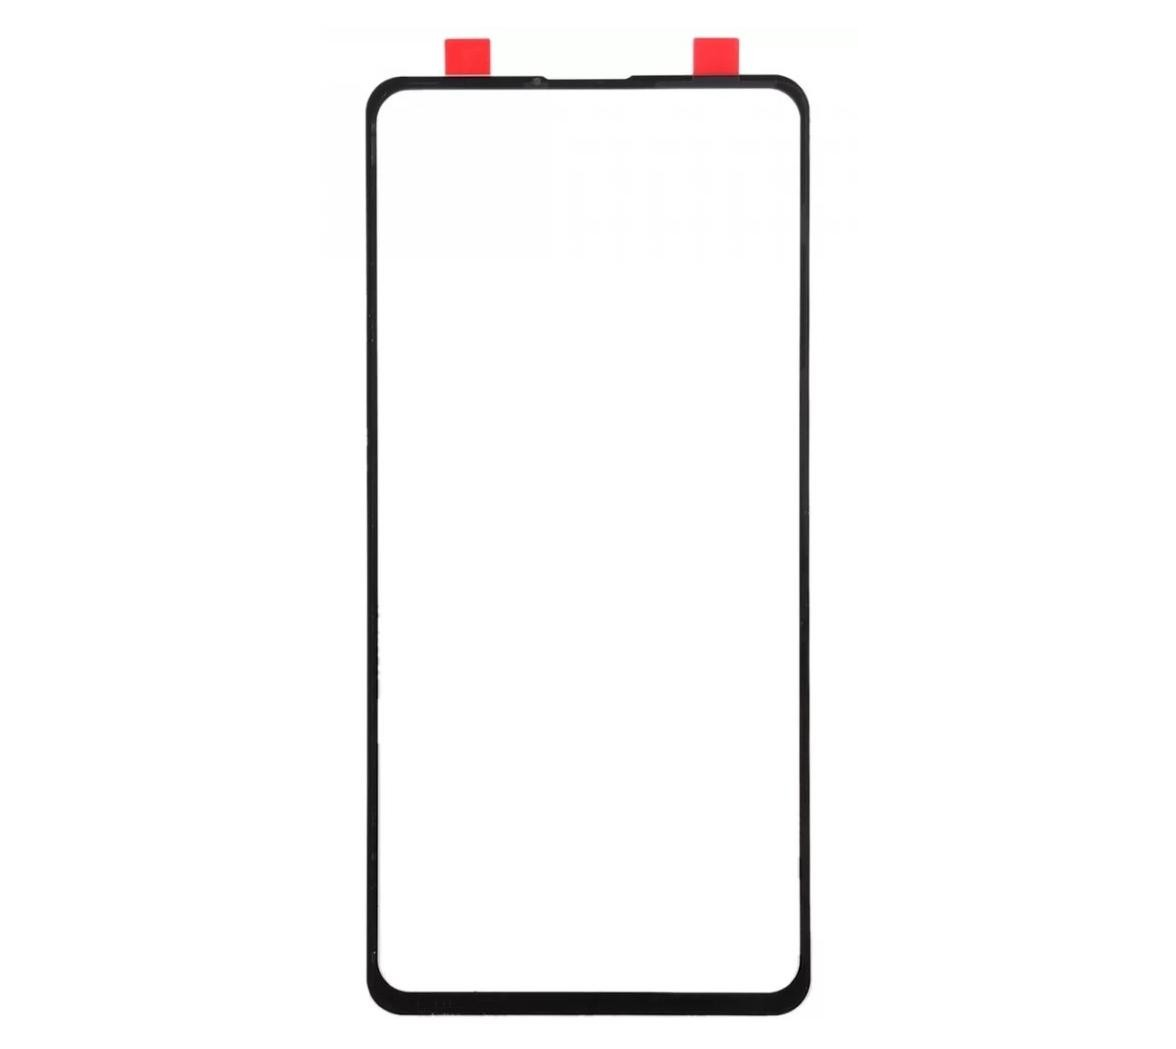
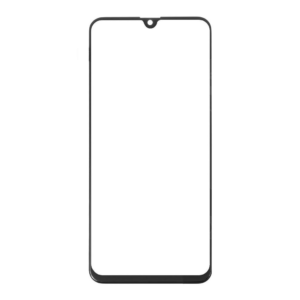
REDMI K20 OCA GLASS
Fixing the Redmi K20 OCA Glass: A Step-by-Step Guide
If you have a REDMI K20 OCA GLASS smartphone and the OCA (Optically Clear Adhesive) glass is damaged or cracked, don’t worry. You can fix it yourself by following these simple steps:
Step 1: Gather the necessary tools
Before you begin, make sure you have all the tools needed for the repair. You will need a heat gun or hair dryer, a suction cup, a plastic pry tool, a tweezer, a cleaning cloth, and a replacement OCA glass.
Step 2: Prepare the phone
Start by powering off your Redmi K20 and removing the SIM card tray. Use the heat gun or hair dryer to warm up the back panel of the phone for a few minutes. This will soften the adhesive and make it easier to remove the glass.
Step 3: Remove the damaged glass
Once the adhesive is softened, use the suction cup to lift the OCA glass from one corner. Slowly and carefully, separate the glass from the phone using the plastic pry tool. Be gentle to avoid damaging the screen or other components.
Step 4: Clean the screen
After removing the damaged glass, use the cleaning cloth to wipe away any adhesive residue or dust from the screen. Make sure the surface is clean and dry before proceeding.
Step 5: Install the new OCA glass
Take the replacement OCA glass and align it with the screen. Use the tweezer to carefully position it in place. Apply gentle pressure to ensure it adheres properly to the screen.
Step 6: Reassemble the phone
Once the new OCA glass is in place, reinsert the SIM card tray and power on your Redmi K20. Check the screen for any abnormalities or issues. If everything looks good, you have successfully fixed the OCA glass.
Remember, if you are not confident in your repair skills, it is always best to seek professional help or take your device to an authorized service center.

REDMI K20 OCA GLASS
NOTE : GSMSMARTPRICE is gathering the best information from various websites live prices may defer from the listed price



Reviews
There are no reviews yet.