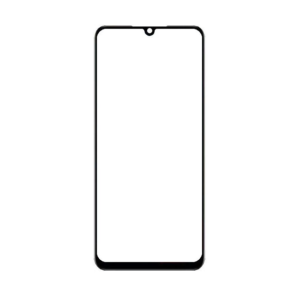
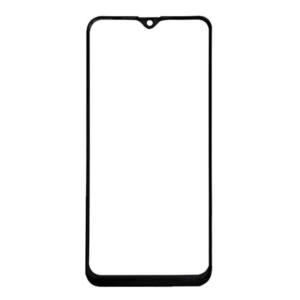
REDMI NOTE 10/ NOTE 10S OCA GLASS
Introduction
If you’re facing issues with the OCA glass on your REDMI NOTE 10/ NOTE 10S OCA GLASS, don’t worry. In this guide, we will walk you through the steps to fix the OCA glass on your device.
Step 1: Gather the necessary tools
Before you begin, make sure you have all the required tools. You will need a heat gun or hairdryer, a plastic pry tool, a suction cup, a precision screwdriver set, and a replacement OCA glass.
Step 2: Prepare the device
Start by powering off your Redmi Note 10 or Note 10S and removing the SIM card tray. Then, heat the back of the device using a heat gun or hairdryer to soften the adhesive holding the OCA glass.
Step 3: Remove the broken glass
Once the adhesive is softened, use the plastic pry tool to carefully lift the broken glass from the device. Be gentle to avoid damaging the LCD screen underneath. If necessary, use the suction cup to lift the glass further.
Step 4: Clean the LCD screen
After removing the broken glass, clean the LCD screen thoroughly to remove any adhesive residue or dust. Use a microfiber cloth or a screen cleaning solution for best results.
Step 5: Apply the new OCA glass
Take the replacement OCA glass and align it properly with the LCD screen. Press it firmly to ensure proper adhesion. Use the heat gun or hairdryer again to activate the adhesive on the new glass.
Conclusion
By following these steps, you can fix the OCA glass on your REDMI NOTE 10/ NOTE 10S OCA GLASS. Remember to proceed with caution and take your time to avoid any accidental damage to your device. If you’re unsure or uncomfortable performing the repair yourself, it’s always recommended to seek professional assistance.
REDMI NOTE 10/ NOTE 10S OCA GLASS
NOTE : GSMSMARTPRICE is gathering the best information from various websites live prices may defer from the listed price


Reviews
There are no reviews yet.