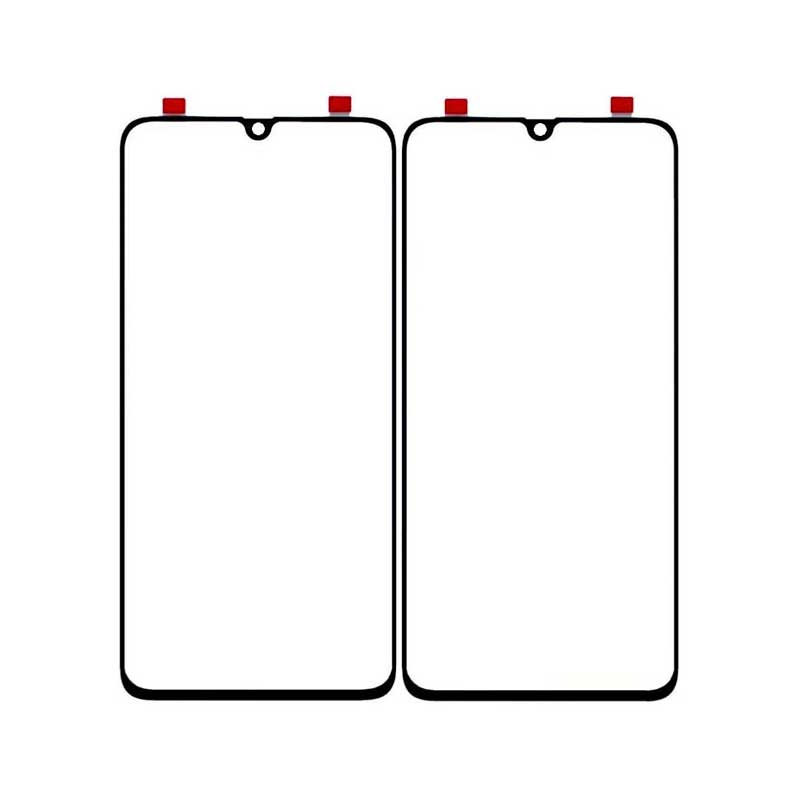
SAMSUNG A70 OCA GLASS
Fixing the Samsung A70 OCA Glass
If you are experiencing issues with the OCA glass on your SAMSUNG A70 OCA GLASS, you may be wondering how to fix it. Follow these steps to successfully replace the OCA glass:
Step 1: Gather the necessary tools
Before you begin, make sure you have all the tools you need. This includes a heat gun, a suction cup, a plastic pry tool, a spudger, and an adhesive remover.
Step 2: Remove the back cover
Start by heating the back of the phone with the heat gun to soften the adhesive. Once it’s heated, use the suction cup to lift the back cover. Use the plastic pry tool and spudger to carefully remove the back cover without damaging any components.
Step 3: Remove the broken OCA glass
Once the back cover is removed, you will see the broken OCA glass. Use the heat gun to soften the adhesive and gently peel off the glass with the plastic pry tool. Be careful not to damage the LCD or any other components.
Step 4: Clean the surface
After removing the broken OCA glass, clean the surface using adhesive remover and a microfiber cloth. Make sure to remove any residue or adhesive left behind.
Step 5: Apply the new OCA glass
Take the new OCA glass and carefully align it with the LCD. Gently press it down to ensure proper adhesion. Use the heat gun to heat the glass and activate the adhesive.
Step 6: Reassemble the phone
Once the new OCA glass is in place, reassemble the phone by attaching the back cover. Apply gentle pressure to ensure it is securely attached.
By following these steps, you should be able to successfully fix the OCA glass on your Samsung A70. If you are unsure or uncomfortable performing these steps yourself, it is recommended to seek professional assistance.

SAMSUNG A70 OCA GLASS
NOTE : GSMSMARTPRICE is gathering the best information from various websites live prices may defer from the listed price


Reviews
There are no reviews yet.