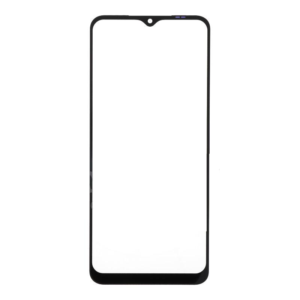
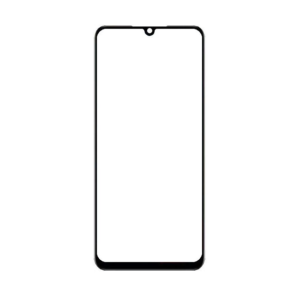
VIVO Y19 OCA GLASS
Fixing the Vivo Y19 OCA Glass
If you are facing a cracked or damaged OCA glass on your VIVO Y19 OCA GLASS smartphone, you may need to fix it to restore the functionality and aesthetics of your device. Here are the steps to fix the Vivo Y19 OCA glass:
Step 1: Gather the necessary tools
Before you start the repair process, make sure you have the following tools:
- Replacement OCA glass
- Heat gun or hairdryer
- Adhesive remover
- Plastic pry tools
- Cleaning cloth
Step 2: Remove the old OCA glass
Start by heating the damaged OCA glass using a heat gun or hairdryer. This will soften the adhesive and make it easier to remove. Use the plastic pry tools to gently lift the old glass from the device. Be careful not to damage the LCD or other components while removing the glass.
Step 3: Clean the surface
Once the old OCA glass is removed, use an adhesive remover and a cleaning cloth to clean the surface of any remaining adhesive or dirt. Make sure the surface is completely clean and dry before proceeding.
Step 4: Apply the new OCA glass
Take the replacement OCA glass and carefully align it with the device’s screen. Slowly lower the glass onto the surface, making sure it is centered and properly aligned. Apply gentle pressure to ensure the adhesive sticks to the screen.
Step 5: Final touches
Once the new OCA glass is in place, use a heat gun or hairdryer to gently heat the glass. This will help the adhesive bond securely to the screen. Finally, use a cleaning cloth to remove any fingerprints or smudges from the glass.
By following these steps, you should be able to successfully fix the Vivo Y19 OCA glass and restore your device to its original condition.

VIVO Y19 OCA GLASS
NOTE: GSMSMARTPRICE is gathering the best information from various websites live prices may defer from the listed price


Reviews
There are no reviews yet.