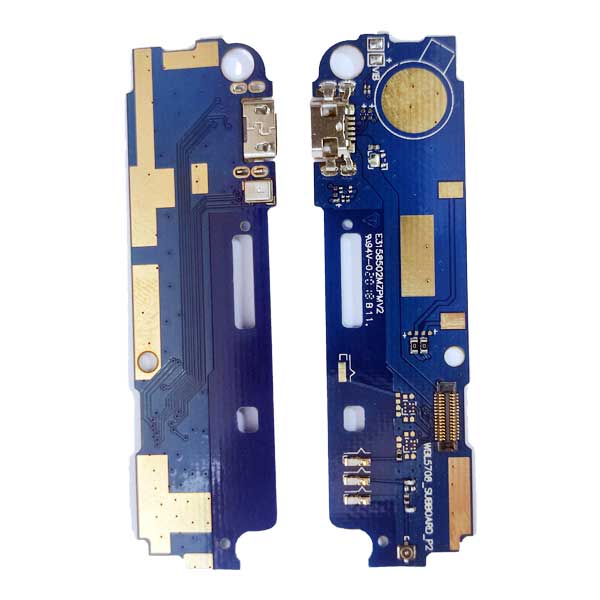
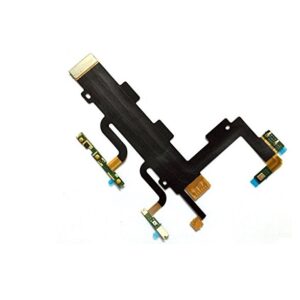
GIONEE P7 MAX CHARGING FLEX
Fixing Gionee P7 Max Charging Flex
If you are experiencing issues with the charging flex of your GIONEE P7 MAX CHARGING FLEX, you may need to replace it. The charging flex is responsible for connecting the charging port to the motherboard of the device. Here are the steps to fix the charging flex:
Step 1: Gather the necessary tools
Before you begin, make sure you have the following tools: – Screwdriver set – Plastic opening tool – Replacement charging flex
Step 2: Power off the device
To avoid any potential damage, turn off your GIONEE P7 MAX CHARGING FLEX before starting the repair process.
Step 3: Remove the back cover and battery
Use the plastic opening tool to carefully remove the back cover of your device. Then, gently remove the battery from its compartment.
Step 4: Disconnect the old charging flex
Locate the charging flex connector on the motherboard and disconnect it by carefully lifting the latch. Once the latch is lifted, gently remove the old charging flex from the device.
Step 5: Install the new charging flex
Take the replacement charging flex and carefully connect it to the motherboard by inserting the connector into the appropriate slot. Make sure it is securely connected.
Step 6: Reassemble the device
Put the battery back into its compartment and reattach the back cover of your Gionee P7 Max.
Step 7: Test the charging functionality
Turn on your device and check if the charging is working properly. Plug in the charger and ensure that the battery is charging as expected. By following these steps, you should be able to fix the charging flex issue on your Gionee P7 Max. If you are unsure or uncomfortable with performing the repair yourself, it is recommended to seek assistance from a professional technician.

GIONEE P7 MAX CHARGING FLEX
NOTE : GSMSMARTPRICE is gathering the best information from various websites live prices may defer from the listed price


Reviews
There are no reviews yet.